Wordpress Project Management
- by: Albdesign albdesign@albdesignweb.com
Intro
This plugin is used to manage projects , clients , tasks , invoices
General description
Once installed the plugin , we need to add client on the CLIENT page
After client is added then we add a project on the PROJECT page and associate the project to the client .
After the project is created we create the tasks at the TASKS page and associate the tasks to the project.
On the INVOICE page we select the client to whom we will create the invoice for , add the project or additional invoice items .
On the SETTINGS page we configure the options for the plugins and also some default values.
On REPORTS page we can see some generale reports and reports for projects , clients , invoices
Installation
Installing via Wordpress administration area
After you have purchased the plugin go to wordpress administration area then on PLUGINS , ADD NEW , UPLOAD and browse to the zip file you downloaded and click INSTALL
Activate through the 'Plugins' menu in WordPress
Installing via FTP
1. Upload the folder 'albdesign_projects' to the '/wp-content/plugins/' directory
2. Activate 'Albdesign Projects Management' through the 'Plugins' menu in WordPress
Settings
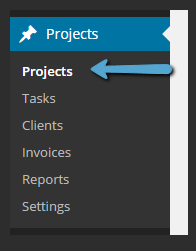
Once activated the plugin you will find the new menu "PROJECTS"
Click on the "SETTINGS"
On the "Settings" page you can configure your details ( or company details )
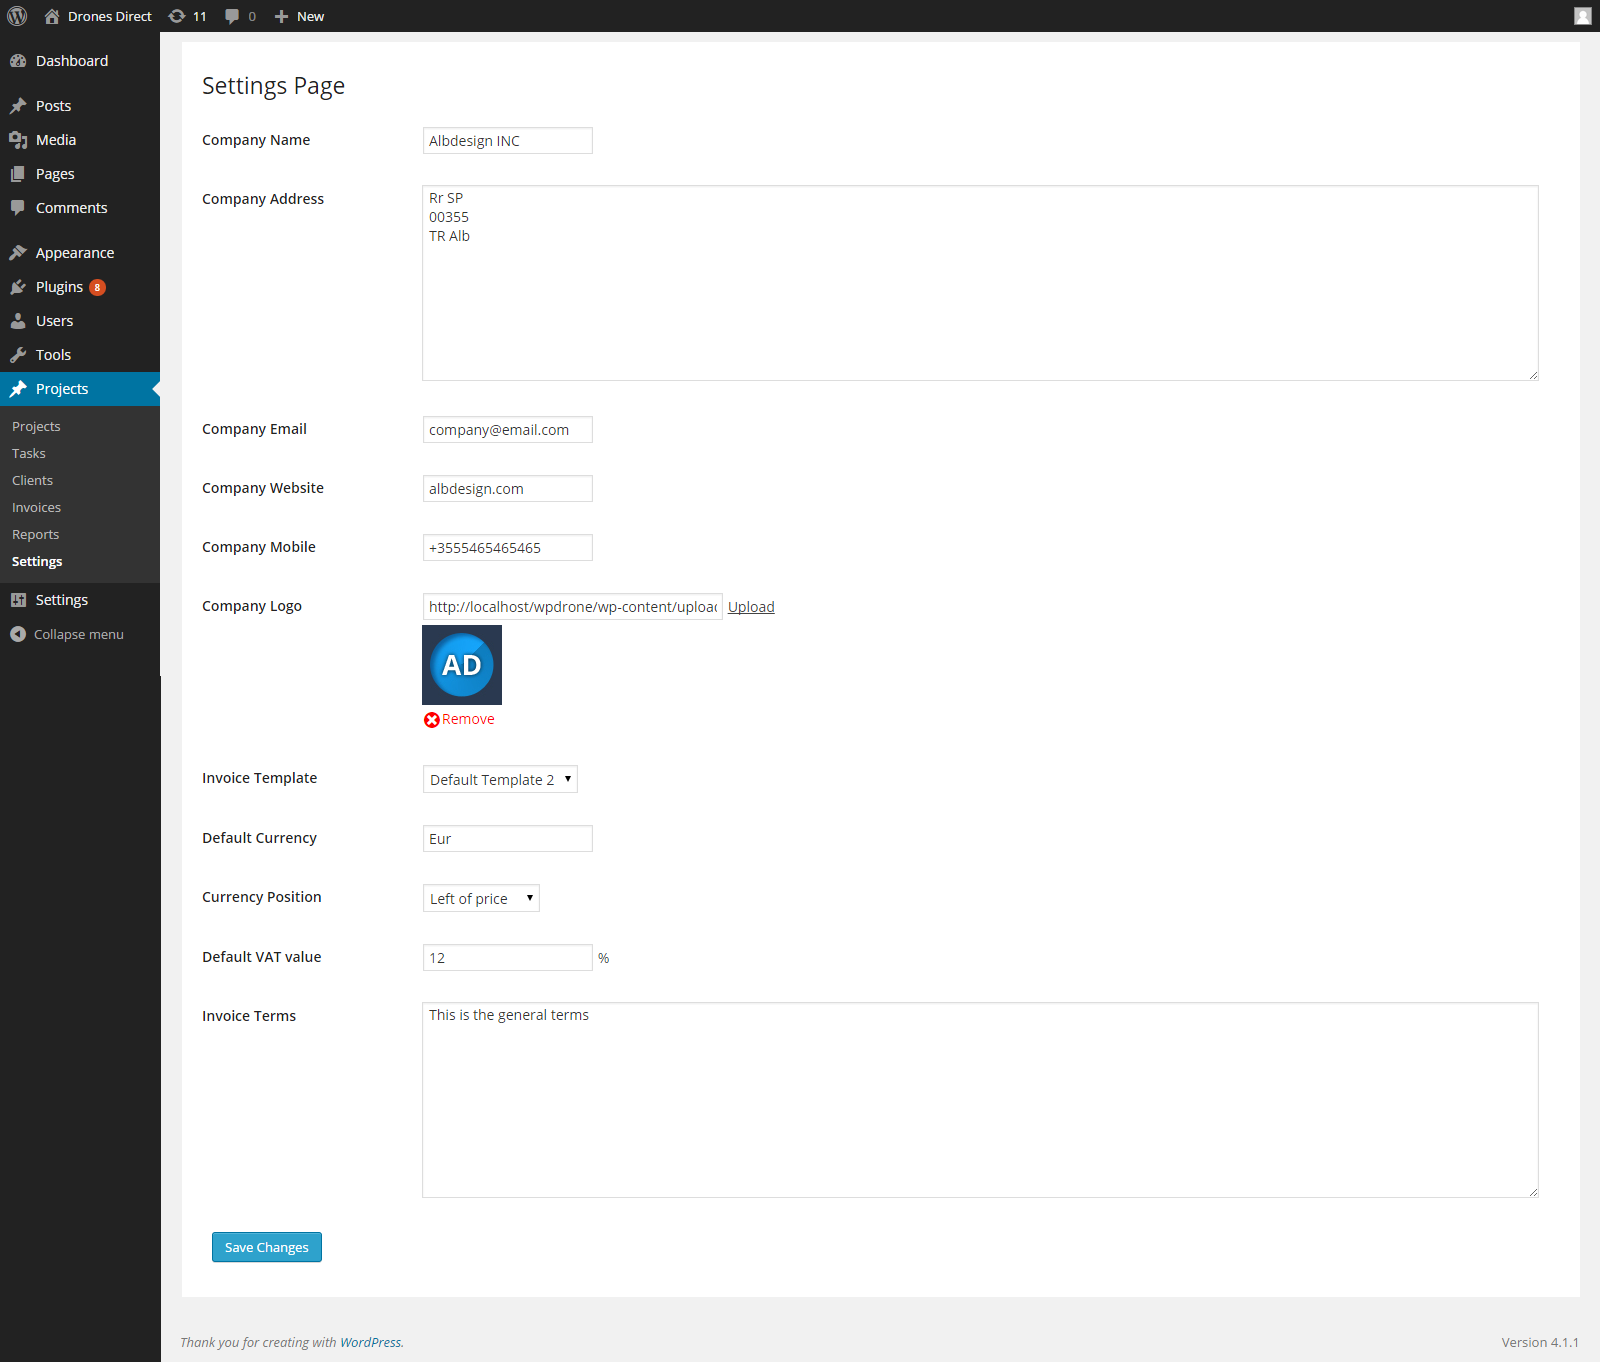
COMPANY NAME - your name. Visible on invoices
COMPANY ADDRESS - Your address. Visible on invoices
COMPANY EMAIL - Your mail. Visible on invoices
COMPANY MOBILE - Your mobile. Visible on invoices
COMPANY LOGO - Upload your logo. Visible on invoices
INVOICE TEMPLATE - Choose one of the template that come with the plugin or select your own.
DEFAULT CURRENCY - Choose default currency for the invoice
CURRENCY POSITION - Choose default currency position ( left of price , right of price )
DEFAULT VAT - Choose default VAT / TAX value
INVOICE TERMS - Default invoice terms
Once ready click "SAVE CHANGES"
This is an example of "Settings" page http://i.imgur.com/qbfOMrw.png
Clients
To add a new client or to edit existing client click on "CLIENTS" link
Here you can view all your clients , the project associated with that client , the invoices and the review for that client
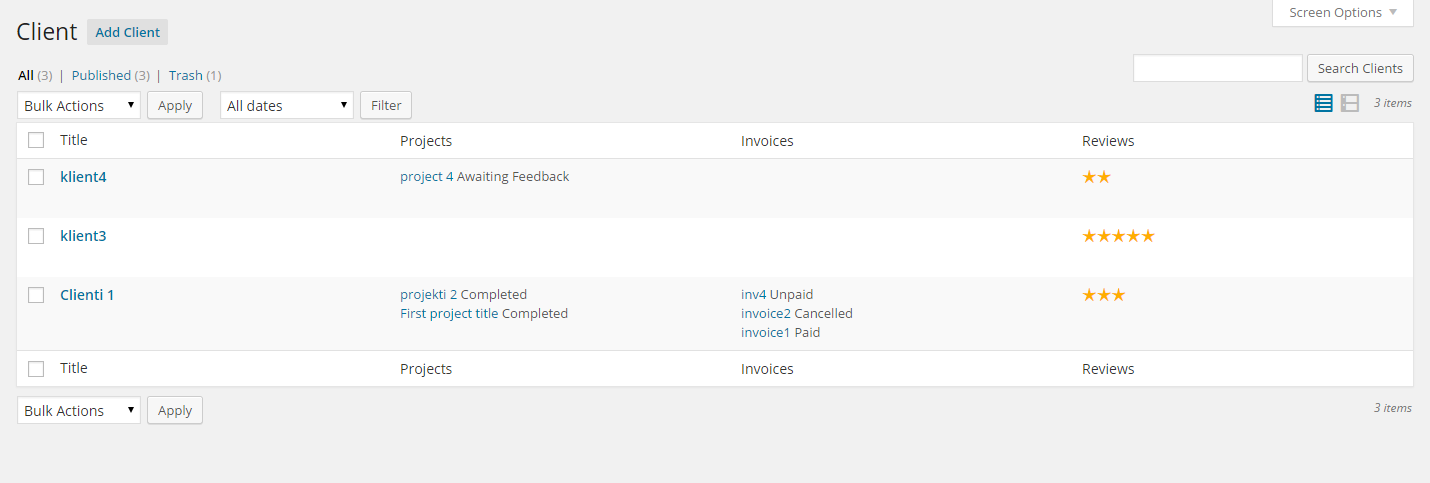
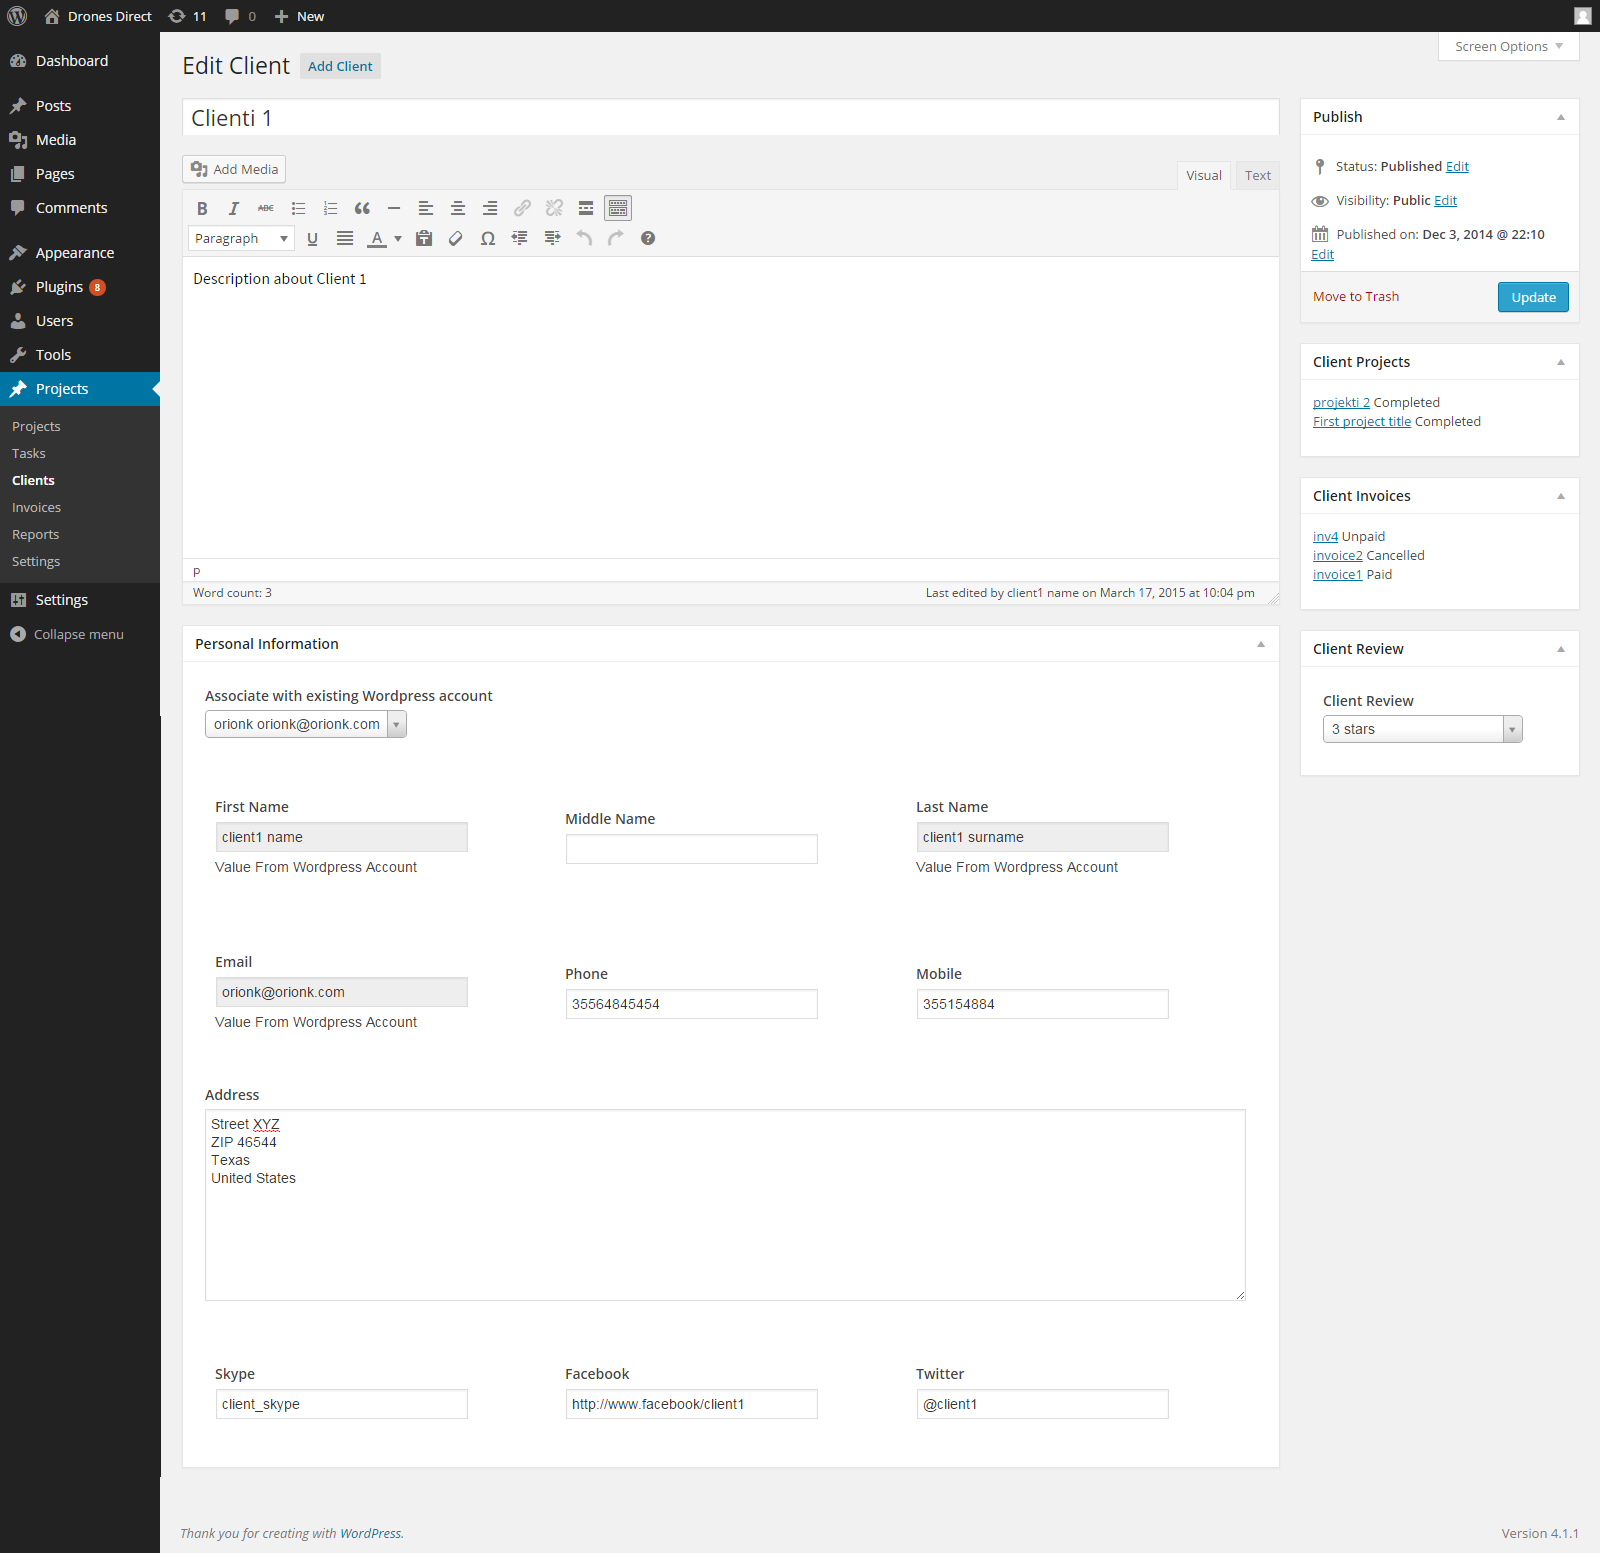
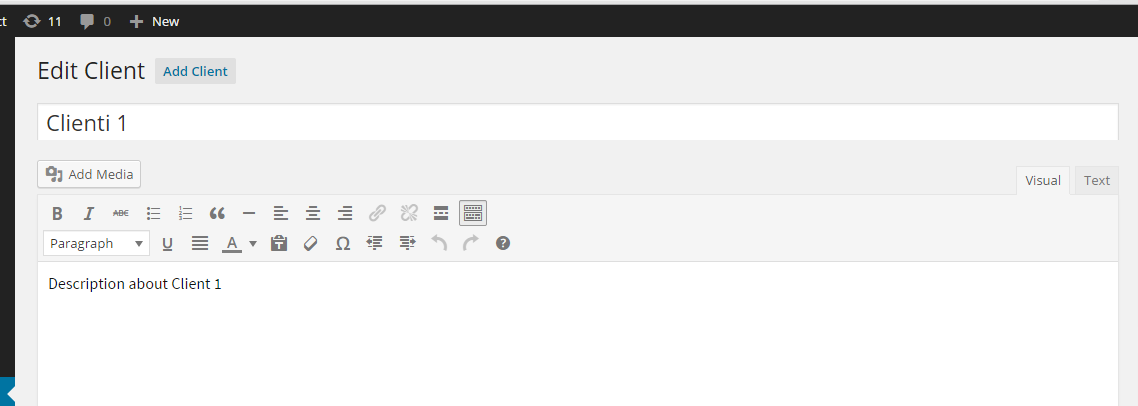
Click "ADD CLIENT" to add a new client or click an existing client name to edit/view that client like in the screenshot below
Set the client title . This will be your reference to this client ( in this case we have set it to CLIENT 1 )
Set the description for this client . You can write whatever you like ( in this case its "Description about client 1 " )
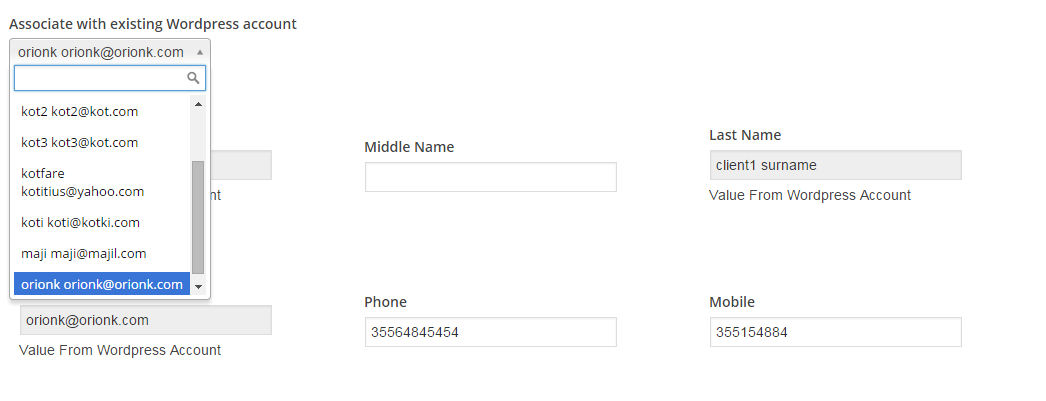
PERSONAL INFORMATION FOR THE CLIENT
Associate with existing Wordpress account - If you have the client also as a Wordpress user then select the client on the dropdow. In this case the First name , Last name , Email will be autofilled with the values from Wordpress user account . Also you will see "Value From Wordpress Account" if the client is associated with a Wordpress account
For non-associated clients you have to fill the fields yourself .
CLIENT ADDRESS AND SOCIAL PROFILES
On the same page you can fill the value for client address and social links ( skype , facebook , twitter )
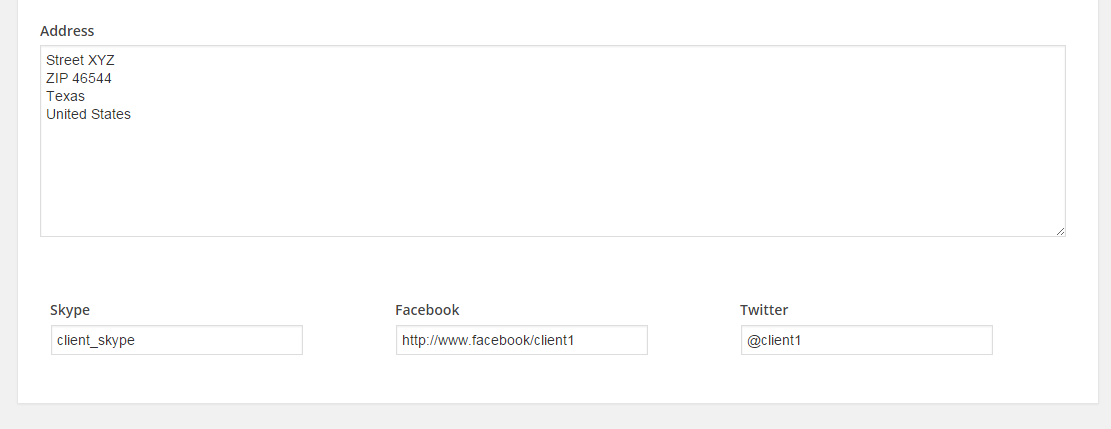
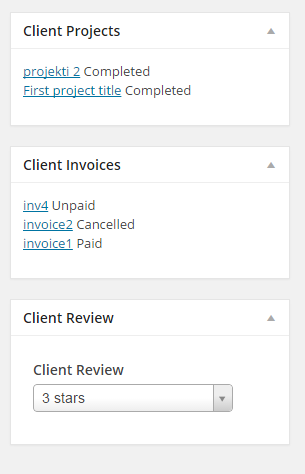
On the right side of the same page you will see any existing projects , invoices and the review about that client
PROJECTS
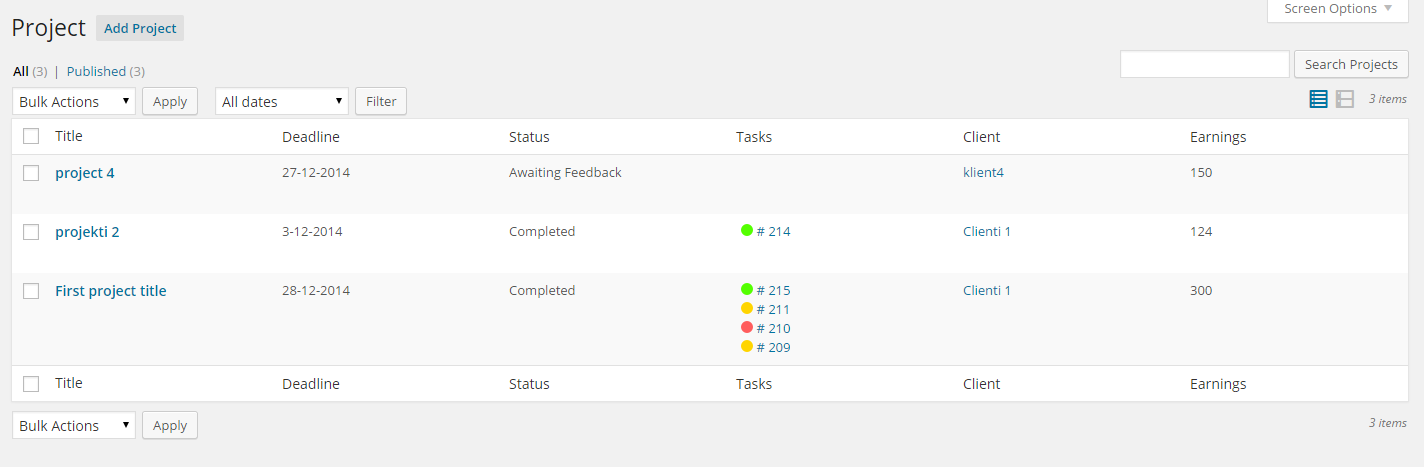
Click on the "Project" link to go to the projects. Here you can see/edit existing projects and also add new projects.
On the project list you can see all your projects , project deadline , project tasks , client associated with the project and the earnings for that project .
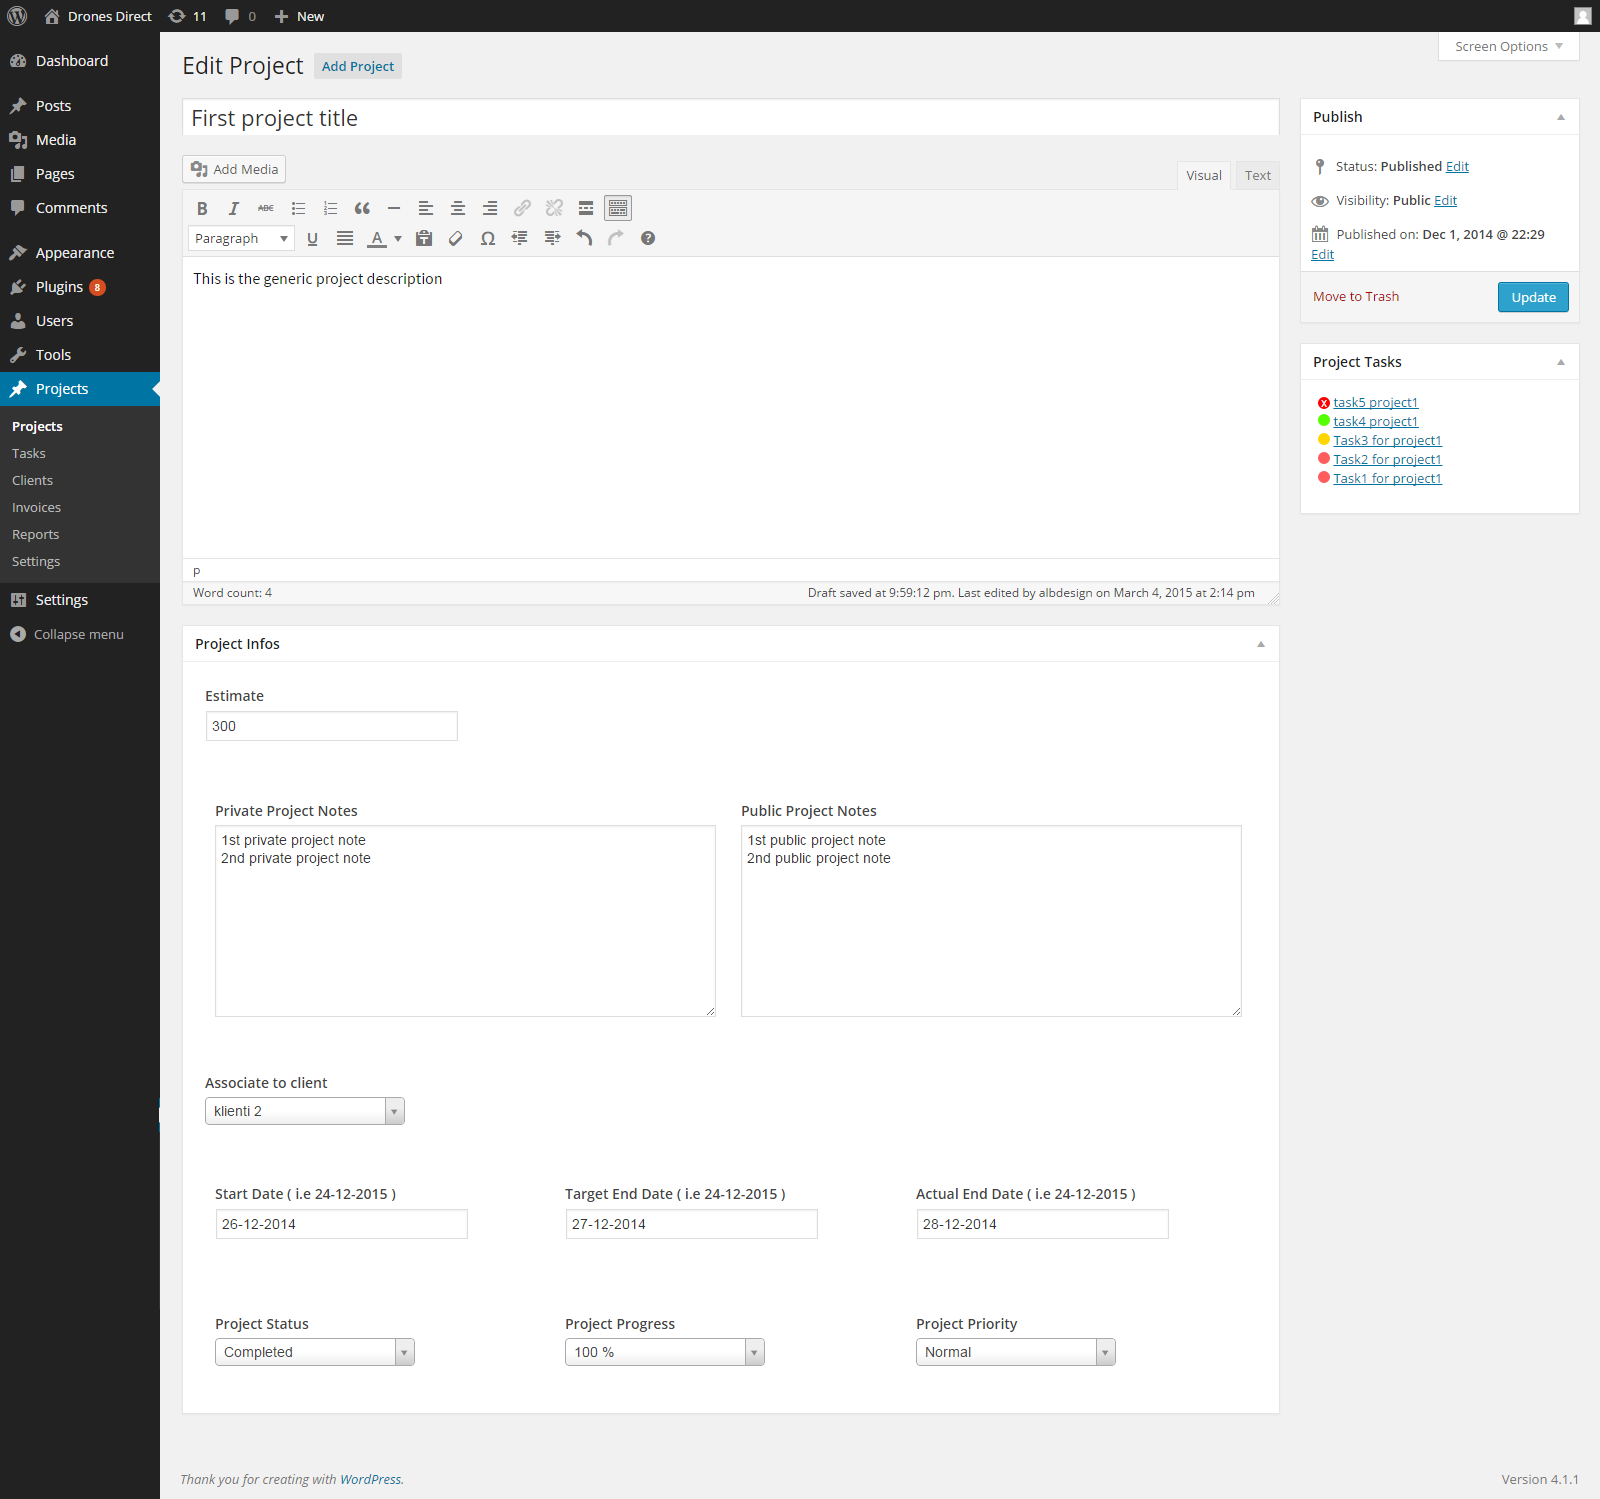
Click "ADD PROJECT" or click on an exsiting project to edit it
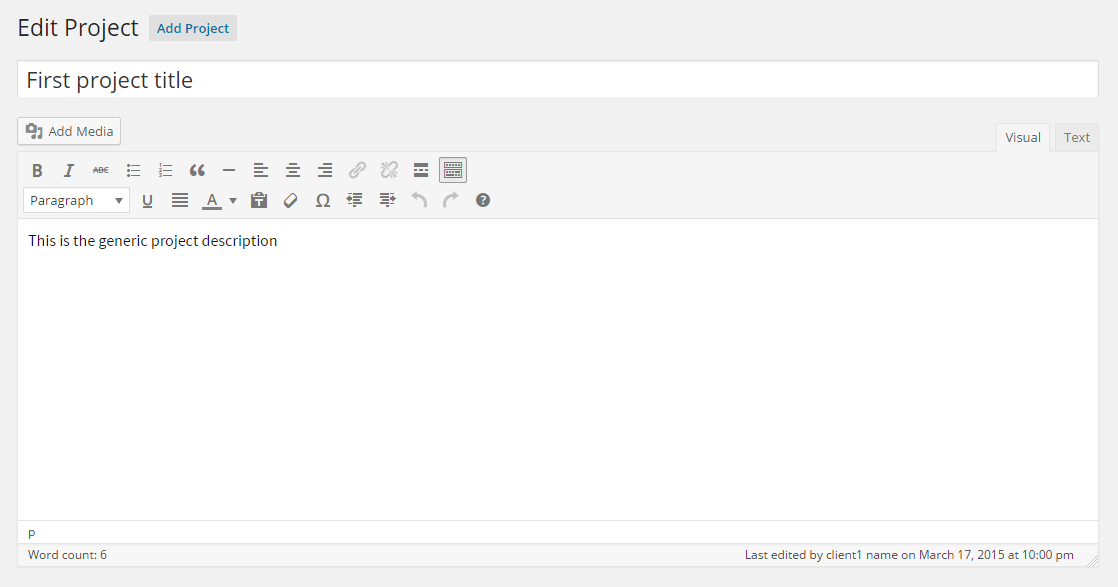
Set the title of the project (in this case it is "First project title " ) . The title will be visible on the invoice.
Add some generic description about this project.
PROJECT INFOS
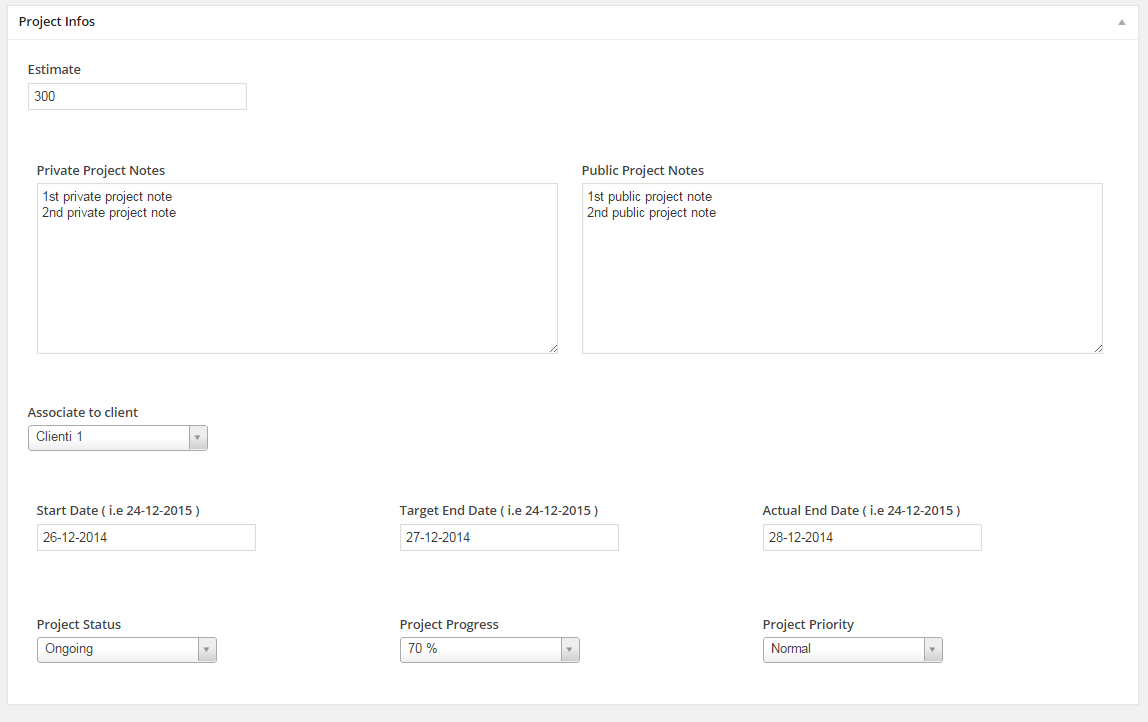
On this tab you can set
ESTIMATE - The estimate/earnings for this project
PRIVATE NOTES - private notes for this project
PUBLIC NOTES - public notes for this project
ASSOCIATE TO CLIENT - associate the project to a client
START DATE - start date for this project
TARGET END DATE - the target end date for this project
ACTUAL END DATE - the actual date that the project was completed
PROJECT STATUS - the status of the project
PROJECT PROGRESS - the progress % of the project
PROJECT PRIORITY - the priority of the project
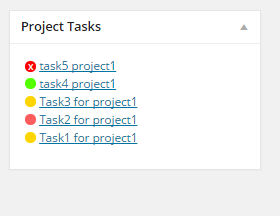
On the same page on the right side you can see the TASKS associated to this project and their status. Click on a task to go directly to that task
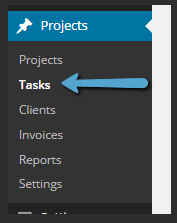
TASKS
Click on the "TASKS" link
Once clicked you will see the tasks list , the task deadline , the task status and the project that task is associated to .
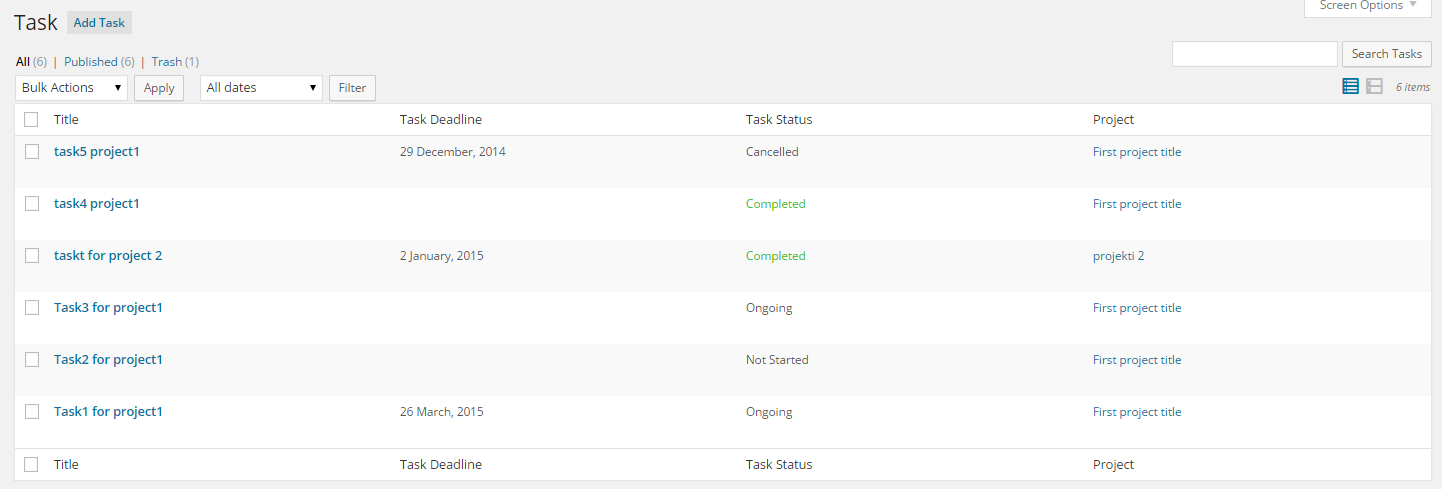
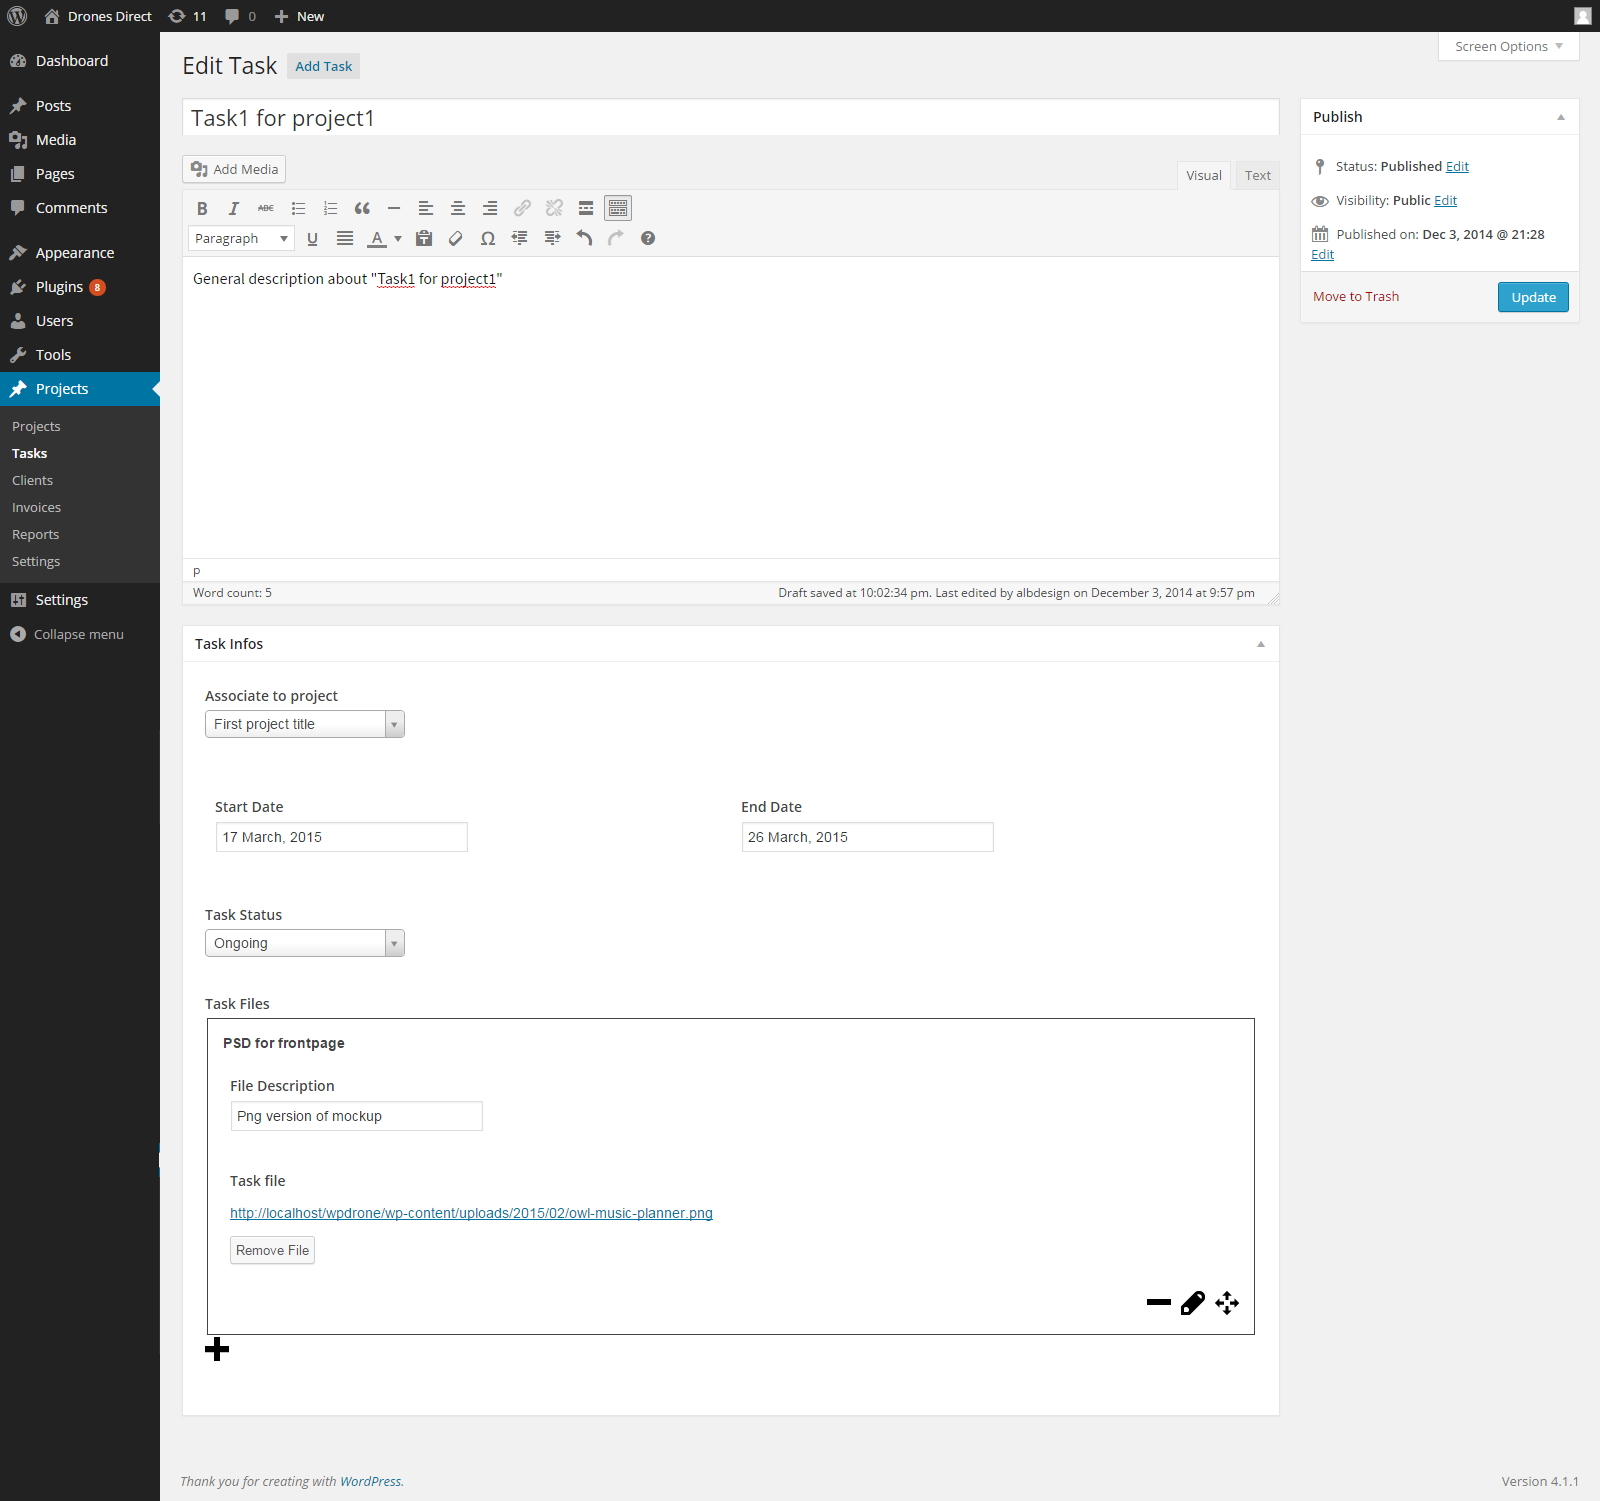
You can click on "ADD TASK" to add a new task or click a specific task title to edit/view that task .
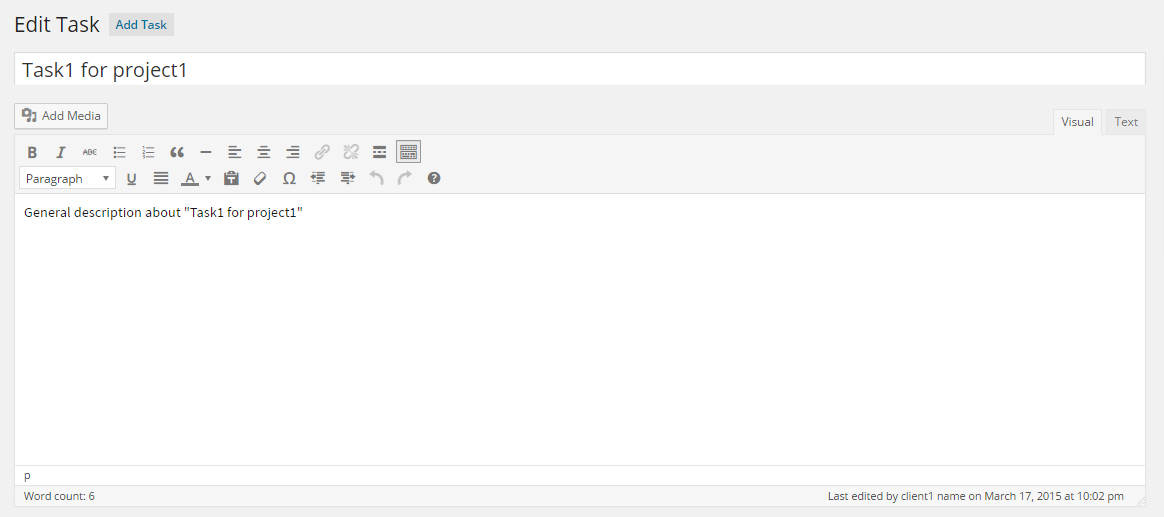
Set the task title and a general description about the task .
TASK INFOS
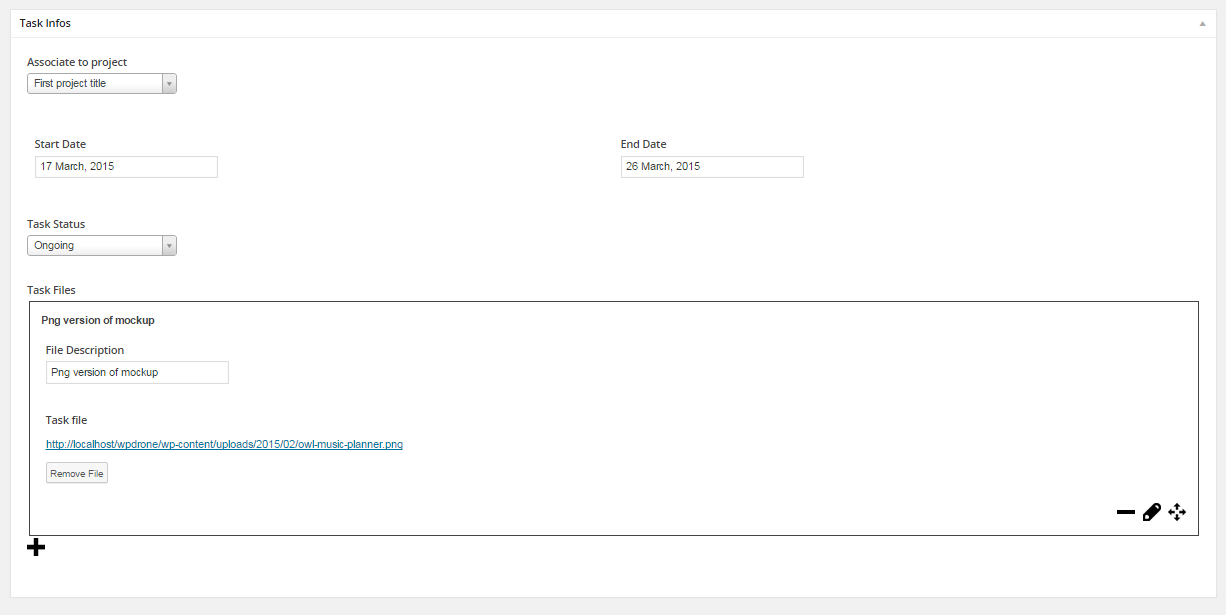
ASSOCIATE TO PROJECT - select the project that this task belongs to
START DATE - the date this task was started
END DATE - the date this task was finished
TASK FILES - attach/upload files needed for this task . For example in this case we have uploaded a PNG image . Set the file description. Should you need to add more files click on the + sign .
INVOICES
Click on the "INVOICES" link
Here you can see all your invoices , invoice total , invoice status and the client that invoice is for . Click on "ADD INVOICE" to create a new invoice or click an existing invoice to view/edit that invoice
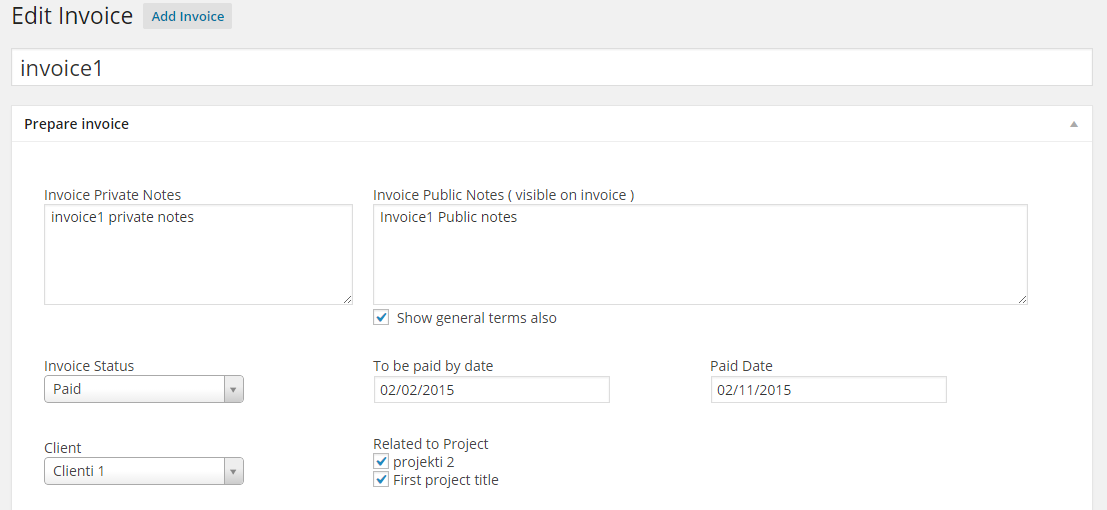
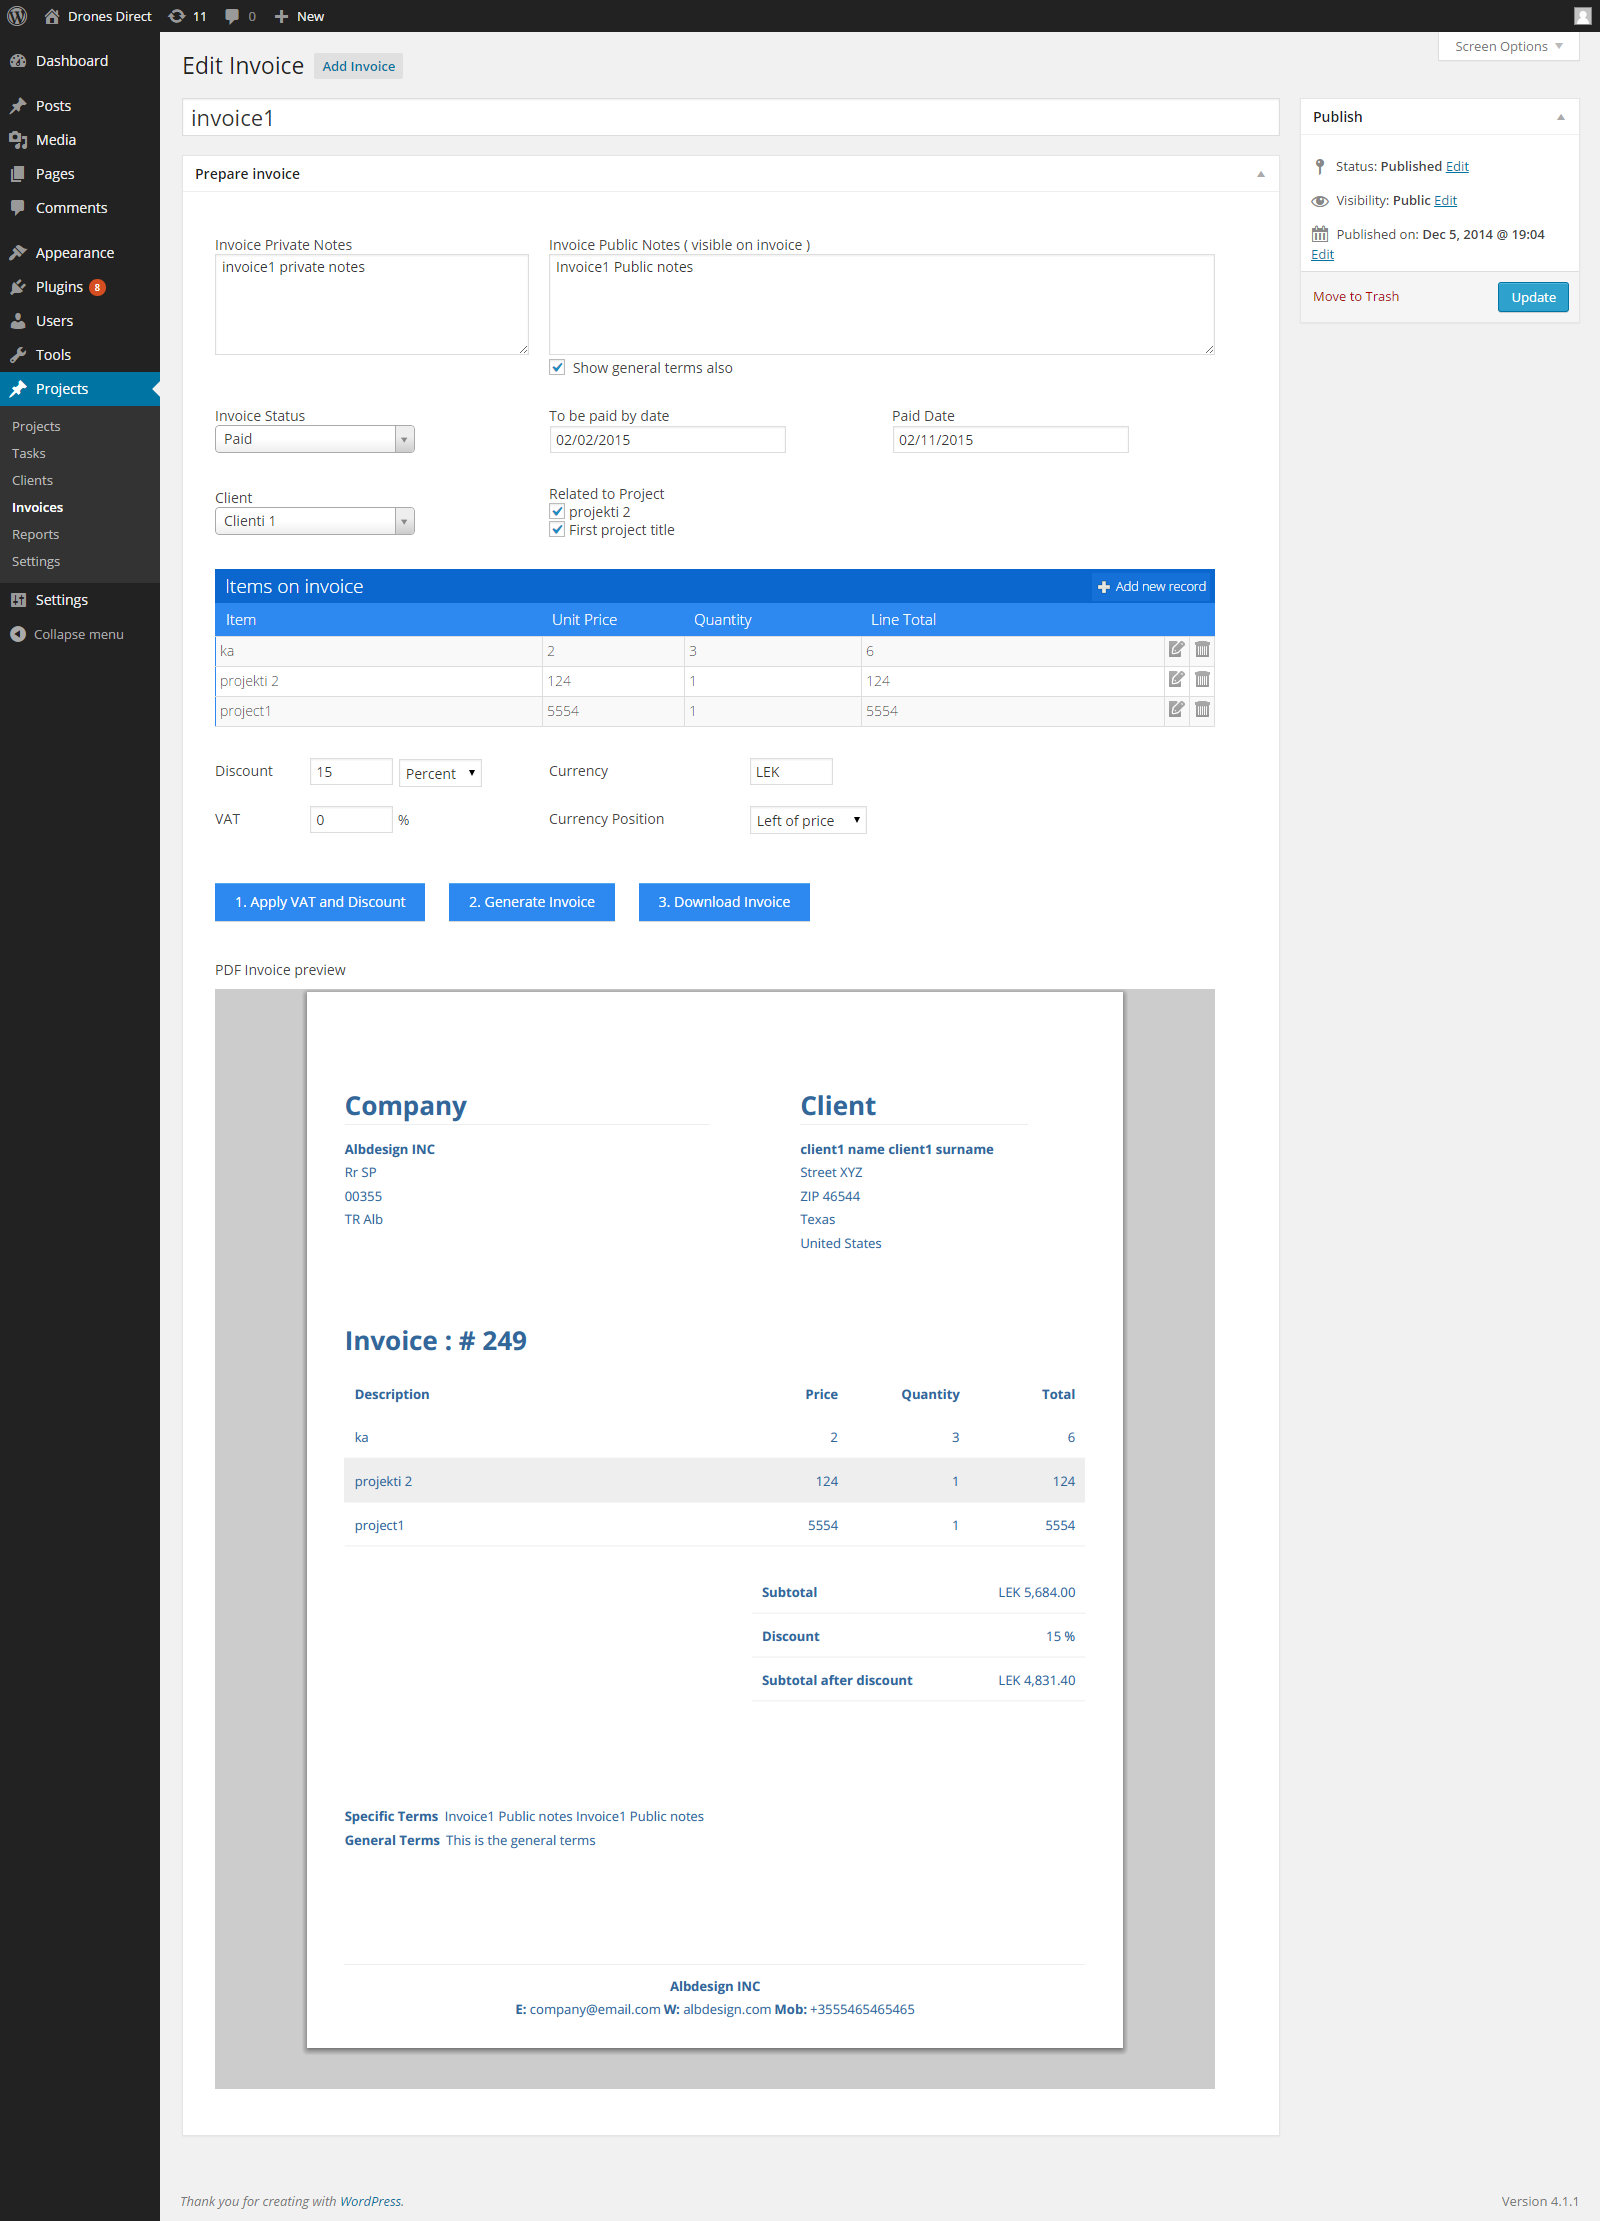
Set the invoice title. This if for your reference
PREPARE INVOICE
INVOICE PRIVATE NOTES - these are some notes visible only to you .
INVOICE PUBLIC NOTES - notes visible on the invoice itself
SHOW GENERAL TERMS - show or not the general terms that were set on "SETTINGS" page
INVOICE STATUS - set the invoice status ... paid , unpaid , overdue , cancelled
TO BE PAID BY DATE - the date the invoice should be paid
PAID DATE - the actual date the invoice was paid
CLIENT - select the client that the invoice is associated to
RELATED TO PROJECT - select the project that will be added on the invoice. The item name will be the project title.
The items on invoice table

On this table you can see the current items on invoice and also edit current item or delete it from invoice by clicking the pencil icon or trash icon.
You add additional items ( items that are not Projects ) and set their price and quantity by clicking "Add new record" on the top-right side of the table
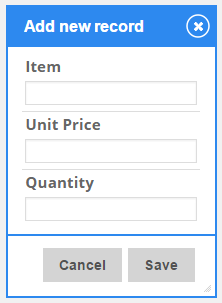
ITEM - the item name visible on invoice
UNIT PRICE - the price for 1 item
QUANTITY - the quantity of this item
Once finished click SAVE
Below the table of items there are the options for
DISCOUNT - if you like to offer any discount you can do a percentage discount or an amount discount
VAT - if you apply any VAT/tax/fee set the value here
CURRENCY - set the currency of the invoice if its different from the default currency you have on "SETTINGS" page
CURRENCY POSITION - set the currency position ( left or right of the price ) if its different from the default you have on the "SETTINGS" page
Once all done you have to click the blue buttons in this order
1) Apply vat and discount
2) Generate invoice
3) Download invoice ( if you like to download the invoice as PDF )
PDF Invoice preview - a preview of the invoice itself
REPORTS
Click on the "REPORTS" link to see an overview .
You can use the tabs on the top to navigate to OVERVIEW , PROJECTS , CLIENTS , INVOICES

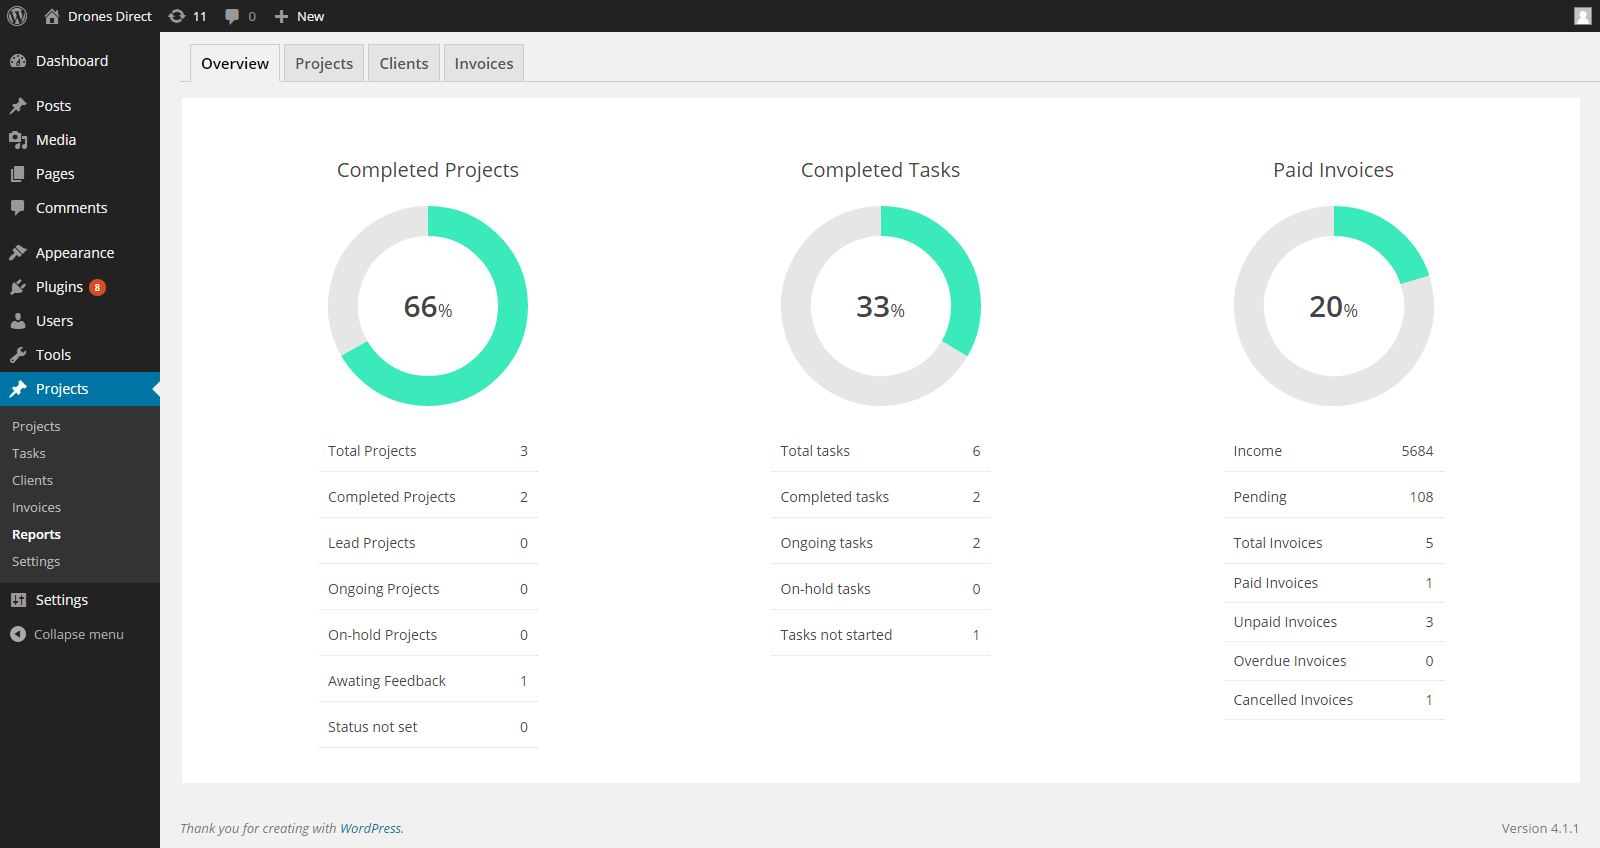
OVERVIEW
a quick view about projects, tasks , invoices .
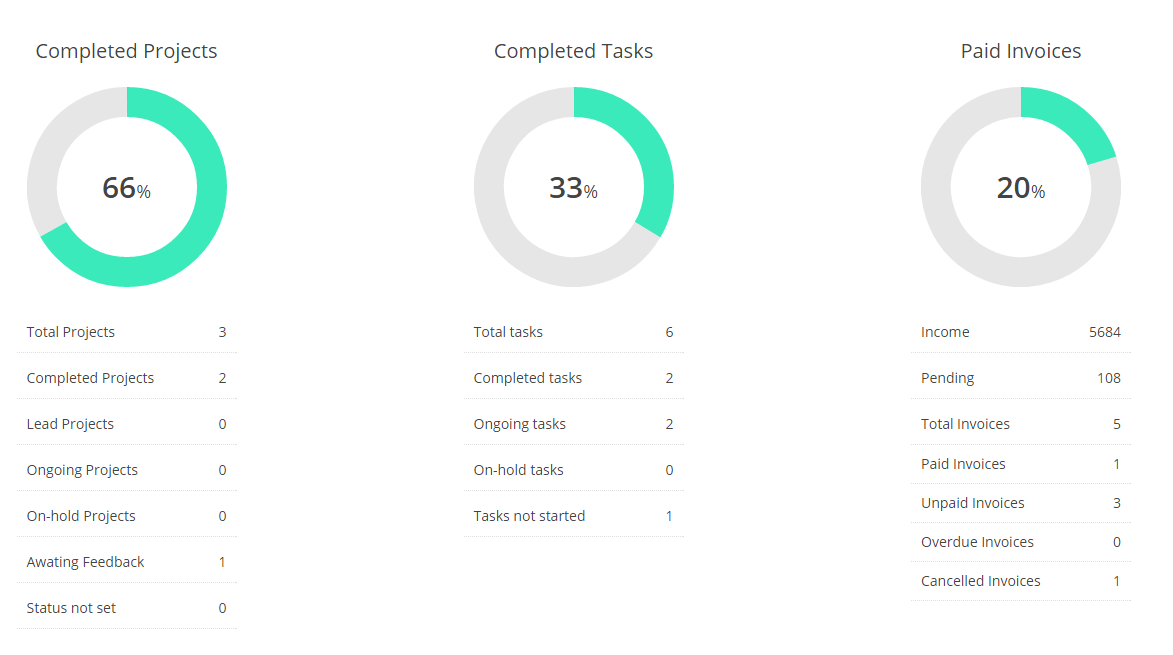
PROJECTS
Here you can search for projects and use the search filters
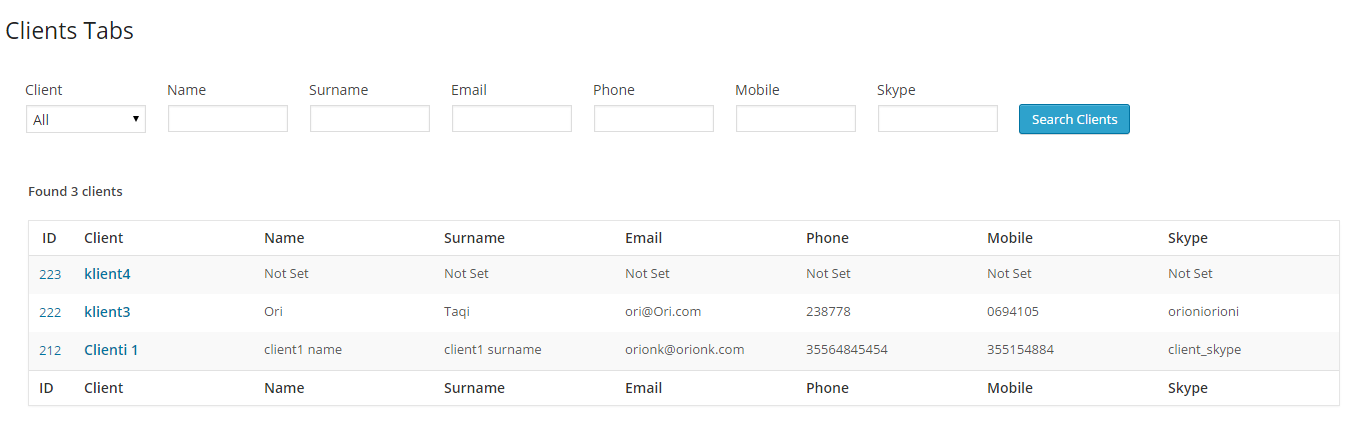
CLIENTS
Here you can search and use the search filters on the clients
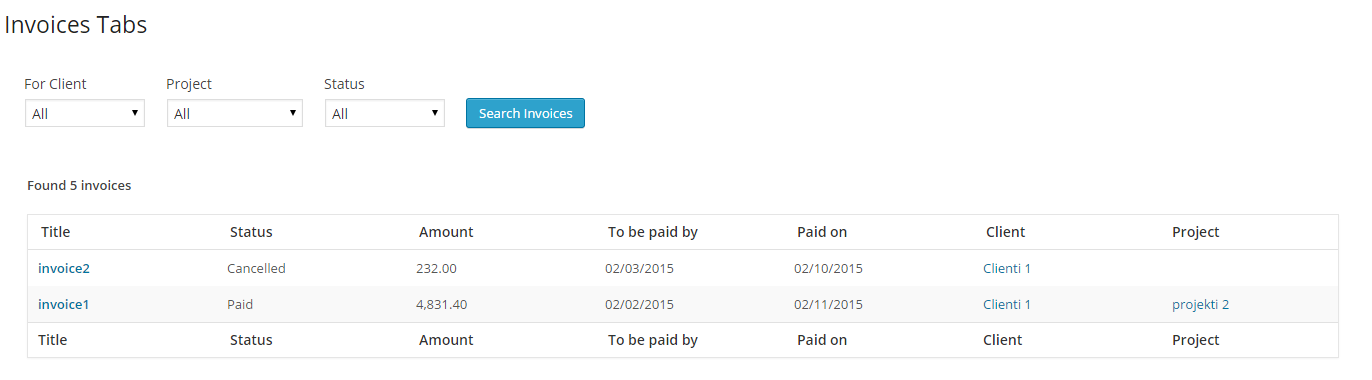
INVOICES
Here you can search for invoies and use the search filters
Invoice Templates
The plugin has for the moment two templates
Should you need to use/design your own template then inside your theme create a folder named "albdesign_projects".
Inside the folder "albdesign_projects" create a folder named "invoice_templates" .
Inside the "invoice_templates" create a folder named "template"
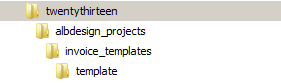
Inside the "template" folder place 2 files
1- style.css
2- template.php
You can copy one template from the plugin and use that as a base to design your template .
Once finished select the "Theme template" on the INVOICE TEMPLATE option on the SETTINGS page of plugin.
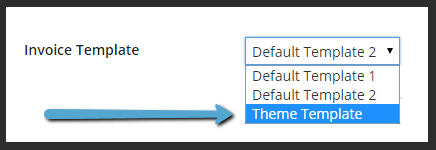
The default templates also has filters applied so you can easily change the display/design using those filters on your functions.php file